








The question we get most isn’t about brightness, patterns or price. It’s some version of: will this actually go on my bike, and do I need to cut anything?
For a Royal Enfield, the short answer is yes it will, and no you don’t. The longer answer is worth five minutes, because knowing what you’re doing before you start is the difference between a twenty-minute job and an afternoon.
What you’re actually fitting
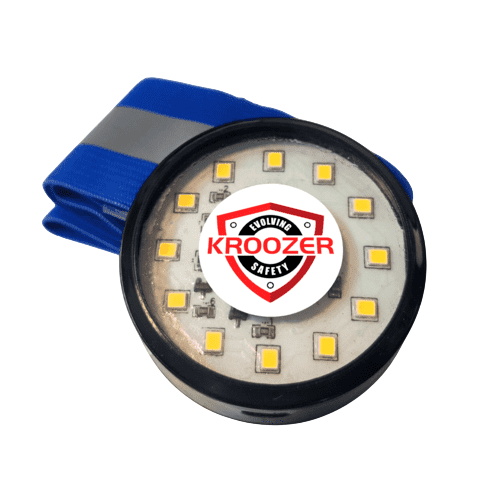
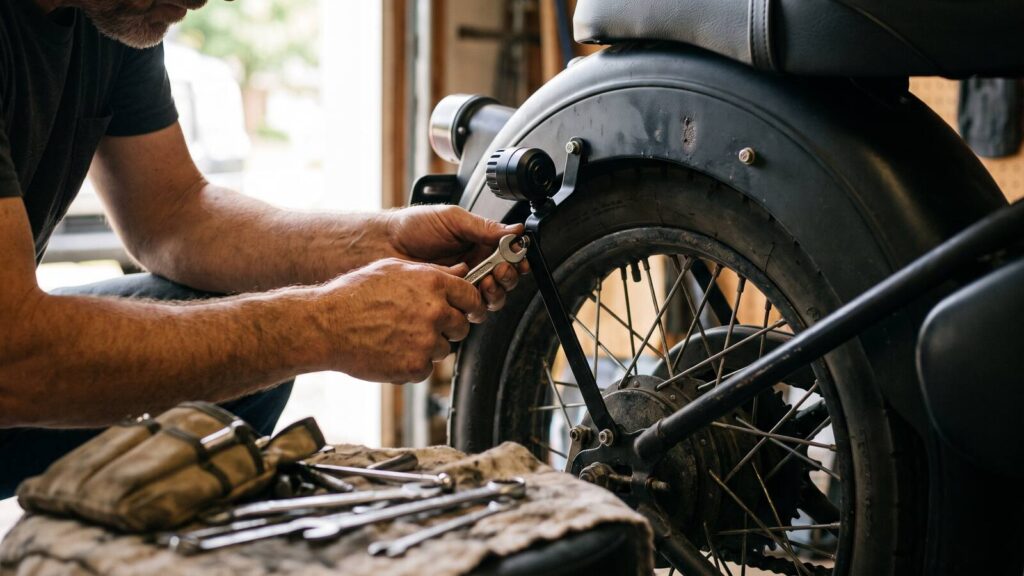
Two pods. One on each side. Each sits on a small black L-bracket, and each bracket goes on under a bolt that’s already on your bike. You’re not making new holes, you’re borrowing existing ones.
That’s the whole mounting story. No drilling, no cutting, no trimming of bodywork. Take the bolt out, put the bracket on, put the bolt back.
It also means the job is completely reversible. If you sell the bike or just change your mind, two bolts and there’s no trace it was ever there.
Where they go on an Enfield
The principle matters more than any specific bolt, because Classics, Bullets, Himalayans, Metors and the 650 twins all put their hardware in slightly different places.
What you’re looking for is a pair of existing fixings low on the tail, one on each side, with the number plate in the space between them. Roughly 40 cm apart is the target. The usual candidates on an Enfield are the number plate bracket bolts, the rear mudguard stay bolts, or the fixings around the rear suspension top mount.
Three things to get right:
Low, not high. A pod up near the tail lamp reads as a modification of your tail lamp. Down at plate level it reads as what it is, a separate light.
Wide, not clustered. The whole point of two lights is the gap between them. Two points 40 cm apart tell the driver behind how far away you are and how fast they’re closing. Two pods bunched together in the middle tell them nothing a single lamp couldn’t.
Angled slightly outward, facing back. Red, rearward. Never pointing forward or up.
What’s in the box, and what you’ll need
The kit gives you the two pods, the two L-brackets, the wiring loom and the push-button switch. Nothing else to buy.
From your own toolkit: a spanner or socket for the bolts you’re borrowing, and cable ties for routing the loom. That’s it. If you’ve ever changed a number plate you have everything you need.
Budget 15 to 20 minutes. Most of that is routing the wiring tidily rather than mounting anything. The brackets take about two minutes each.
The switch, and where to put it
The pods are controlled by a single push-button switch that cycles the patterns. Put it somewhere your left thumb can find without looking. Near the clutch perch is the usual answer on an Enfield.
You’ll set a pattern once and mostly leave it. The switch matters less for changing modes and more for turning the pods off when you don’t want them, which on a bike used in town is more often than riders expect.
Brake Mode wiring
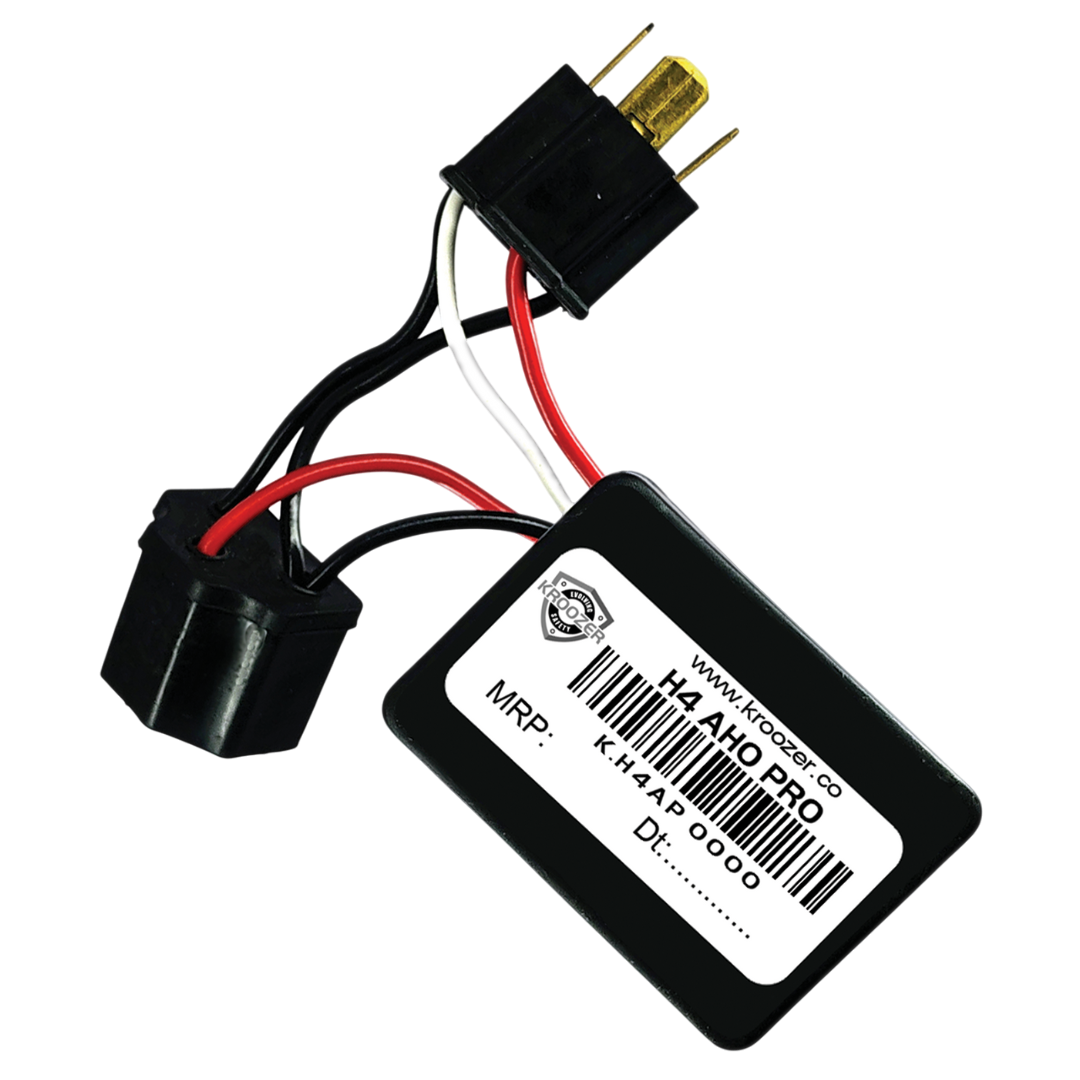
The V7.0 adds Brake Mode. The pods fire when you touch the lever, on top of whichever pattern you’re running.
That takes a signal from your brake circuit. Worth being clear about what that does and doesn’t mean: nothing inside your brake lamp is opened or altered. Your brake light keeps behaving exactly as Royal Enfield built it. The pods are simply told when you’re braking.
If you’d rather not tap the brake circuit at all, don’t. The pods run their own patterns perfectly well without Brake Mode connected, and you can add it later.
Routing the wiring so it doesn’t annoy you
The bit that separates a neat install from a scruffy one.
Follow the loom that’s already there. Enfields have a fairly accessible harness running under the seat and along the frame spine, and if you cable-tie alongside it you’ll end up with something that looks factory. Leave a little slack where the wiring crosses anything that moves. The rear suspension travels further than you think when you’re sitting still in a garage.
Keep connectors up and out of the direct spray line off the rear wheel. The kit is built for monsoon riding, but no wiring loom enjoys sitting in standing water.
Before you ride off
Four checks, two minutes.
Sit behind your own bike. Park it, walk back fifteen metres, have someone cycle the patterns. If it’s uncomfortable to look at from there, it’s uncomfortable for the driver behind you. Pick a gentler pattern.
Check nothing shows forward. Walk round to the front. You should see no red at all.
Confirm your standard lights still work. Tail lamp, brake light, both indicators. Nothing about this install should have touched them. Check anyway.
Bounce the rear. Push down on the seat and let the suspension travel. Nothing should pull tight or foul.
If it doesn’t fit
Some builds and some aftermarket tail tidies leave nothing usable to bolt to. If you get to your bike and can’t find two suitable fixings, don’t start improvising with drills. Message us with a photo of your tail and we’ll tell you honestly whether it’ll work.
We’d rather talk you out of a sale than have you cut into a bike you love.
The kit is the KROOZER Strobe Light for Bike, Pro with Brake Mode: ₹1,399, free shipping across India on orders over ₹1,000, 1-year warranty. Fits Classics, Bullets, Himalayans, Meteors and the 650 twins, along with most other motorcycles and scooters. The rest of the range is in strobe lights.
Also worth reading: why a brake light flasher isn’t the same thing, and the honest answer on blinking lights and Indian roads.


